
Blacksmith Education Program

Level I Projects
The basis for the education program of the Northern Rockies Blacksmiths Association (NRBA) is the National Curriculum of the Artist Blacksmith Association of North America (ABANA). NRBA’s curriculum education program also contains ideas and information taken from the California Blacksmith Association’s (CBA) curriculum program implementation and individuals involved in ABANA’s and CBA’s education efforts, especially Mark Aspery and John McLellan. David Osmundsen has adapted the program for NRBA.
NRBA’s curriculum certifications are meant to assure the same quality levels as defined by ABANA nationwide. This means an NRBA Level 1 certificate is equivalent to a CBA Level 1 certificate. NRBA’s education program resembles the ABANA and CBA programs, but it is NRBA’s own program and may be adjusted as needed and as the national program is implemented on a broader basis.
There will be 3 levels of certification once the program is fully implemented. Currently, (September 2015) only Level 1 of the curriculum has been defined in detail by NRBA.
This program will be managed by an Education Committee appointed by the board of directors. It will be made up of three NRBA members. At least one of them has to be a board member and one has to be a senior instructor. A senior instructor is a member holding the highest current instructor certification within NRBA. This committee will take responsibility for the education program and be accountable to the board of directors.
The NRBA Education Program will be divided up into three skill levels:
Level 1 Novice
Level 2 Apprentice
Level 3 Journeyman
Any NRBA member can work at achieving these certifications. The training for each level should be accomplished in numerical order to get the most from the program, as each level builds on the previous one.
One of the first things needed to run a teaching program is certified instructors to teach the program. This was accomplished in May 2014 by inviting Mark Aspery to come and conduct a five day training and evaluation class in Roscoe, Montana. As a result of that training, NRBA now has five Level 1 and one Level 2 instructors. Level 1 instructors can teach Level 1 curriculum only. Level 2 instructors can teach Level 1 and 2 curriculum. Level 3 instructors can teach all three levels. A Level 2 instructor can certify a Level 1 instructor to become a Level 2 instructor and a Level 3 instructor can certify a Level 1 or 2 instructor to the next level. Since we have no Level 3 instructors at this time Mark Aspery has agreed to help with our first Level 3 certification when somebody meets the requirements.
NRBA instructors need to be members in good standing and need to follow our safety policy.
In return for a subsidized instructors certification we will require each instructor to teach or be actively involved in the NRBA education program, a minimum of 40 hours a year. This can be accomplished by conducting NRBA classes in the instructors personal shop, coaching a student in their shop, teaching or demonstrating at a NRBA conference or being involved with the NRBA Education Committee. The number of hours may be reduced as more instructors are certified. This is to be done on a voluntary basis, however if an instructor conducts NRBA classes in their personal shop they can charge a reasonable fee for supplies and materials. The amount of time each instructor commits to the NRBA Education Program a year will be on the honor system, however there are some checks and balances built into the program for the Education Committee to monitor an instructors involvement. NRBA instructors will be allowed to teach the curriculum on a commercial basis if they meet their voluntary teaching goal as described.
NRBA will require each student to be a member in good standing in order to receive an official certificate. The board might require a certification fee to be paid to offset costs of the program.
Each student, upon inquiring to the Education Committee, will receive a packet of information including an NRBA membership form (in the event they are not already a member), a description of the program, an instructors contact list, a checklist of skills and any technical drawings appropriate to the level they are inquiring about. After that, it is the individual’s responsibility to follow through with the program.
The NRBA Safety Plan applies to all activities of the NRBA Education Program. All instructors, students or other participants have to follow the safety plan. Safety aspects will be an integral part of every class or demonstration. Instructors have the right to exclude participants from the program or activities if they do not follow the safety plan even after being reminded.
All NRBA instructors will be provided with the same packet to facilitate any personal contacts.
It is assumed that many people wanting the Level 1 instruction may not have their own shop set up. Instructors may conduct instruction at their personal shop. For students having a shop, instructors may teach at the student’s facility. NRBA assumes no reasonability for any liability at an instructor’s or student’s shop. Safety is the first skill on the checklist and should be a part of every session.
In addition to an instructor or student shop for teaching, NRBA will commit time at conferences to the teaching program. NRBA instructors will conduct teaching programs, either hands on training or demonstrations of the curriculum.
Accomplishment of a certain level has to be approved by two instructors or a board member and an instructor. At least one of these has to have seen the student work through part of the curriculum exercises. The final work pieces are part of the evaluation. The education committee will recommend a student for certification and certificates will be issued by NRBA, signed by the chairman of the education committee and the president of NRBA. Certificates will be issued two times a year at the conferences.
David Osmundsen,
Chairman Education Committee
Frank Annighofer,
President NRBA
To assure a certain level of quality and consistency, these guidelines should be used to evaluate a student’s work before instructors sign off on any skill.
Drawing down, upsetting or spreading the material and thereby changing the cross section of the bar
Tapers should be free of hammer marks, straight sided, centered on the bar and following the square, octagon round method of forging.
Spreading should be free of holes and tears and be of a uniform thickness where appropriate.
Shoulders should be one distinct transition with no chatter from misaligned starts and free of cracks. In the case of necking-in, the transition should be smooth and gradual, free of hammer marks and centered on the bar where appropriate.
Upsets should be free of cracks, lipping, and cupping as well as centered on the bar where appropriate.
Bending or twisting, changing the orientation of the bar
Square corners should be free of cracks at the inside of the corner and show full stock width and thickness at the corner and on both sides beyond the corner. The outside of the corner is to be sharp.
Twisting should be free of cracks and tooling marks.
Scrolls should have no cracks at the scroll end (such as behind snub ended scrolls) and be free of kinks or straight sections.
Splitting, punching and cutting off
Punched holes should be centered in the bar (where appropriate). Sides of the hole should be a uniform thickness and shape while not being thinned to a point of weakness.
Punched and drifted holes are to be centered in the bar where appropriate; straight in its orientation to the bar; free of cracks and show no evidence of the initial punched or chiseled hole.
Splitting should have uniform sides, free from rag and be protected at the root of the cut by fullering half round to prevent cracking. Where a split is opened out (as in a fork) the student is encouraged to neck-in (fuller) at a distance equal to the thickness of the sides of the split, behind the split, to prevent cracking.
Pass through holes should be of a sufficient size and shape to allow the pass through bar to move easily without being sloppy. Evidence of the initial slit or slot is deemed to be an incorrect match of tooling.
Forge welds when done properly is completely blended into the bar with no evidence of a joint. Tolerance is given to the student if there is some evidence of the weld seam post welding. Cracks caused by overheating or taking an excessive number of heats are not acceptable. Cracks at either toe (of the scarfs) are not acceptable. A reduced cross section of the bar compared to the surrounding stock is not acceptable.
Riveting should show a sufficiently large mass at the head of the rivet to prevent them from being pulled from the work. The rivet head should be centered about the main body of the rivet. Students should be encouraged to make their own rather than use manufactured rivets.
Tenons should be free of cracks and cold shuts and have a fillet at the shoulder to prevent the formation of stress risers.
The projects and exercises should be returned free of cracks, burns and gross hammer marks. The items can be finished with a file and hand sanding. Work shaped or cleaned up with an electric grinder or belt sander will not be accepted.
Using a hand hammer at the anvil will produce a hammer texture on the iron. Excessive texture is defined as one leaving an uneven finish or where one edge (side) of the hammer has left a visible mark in the iron (such as found when not matching the angle of a taper when drawing down a bar and the heel of the hammer is leaving steps in the bar). A smooth hammer texture is expected in the work, but marks from erratic hammering or from the edge of the hammer are not.
This description is given to any work that has been overly hammered or heated too many times or burned in the fire. The piece will be too thin for its intended use and may have cracks present in the bar. Students should be asked to repeat the project using fewer blows or heats.
Final projects may be finished in a wax, oil or clear coat finish. Exercises may be submitted without a finish applied.
Free of holes, cracks, or tears. Crimps match (opposite each other). The end of the leaf must show a ‘return’ to the main leaf. Leaves should show a ‘U’ shaped channel to allow the placement of a scroll where needed. Edges should be thinned sufficiently to give the leaf a delicate image visually without being over forged or containing tears.
Free of holes, cracks, or tears and shaped to match the curve of the scroll.
Punched and drifted eye. Head is appropriately shaped for use at either the anvil or the vise. Hardened and tempered or case hardened as appropriate for the steel used.
This certificate will be awarded to NRBA members who have completed the Level 1, basic training. Interested members will receive a checklist of required skills to complete, guiding them through the program. Ongoing educational activities will be published in the NRBA Newsletter. There is no guarantee that a teaching opportunity will exist at a time a student is seeking one.
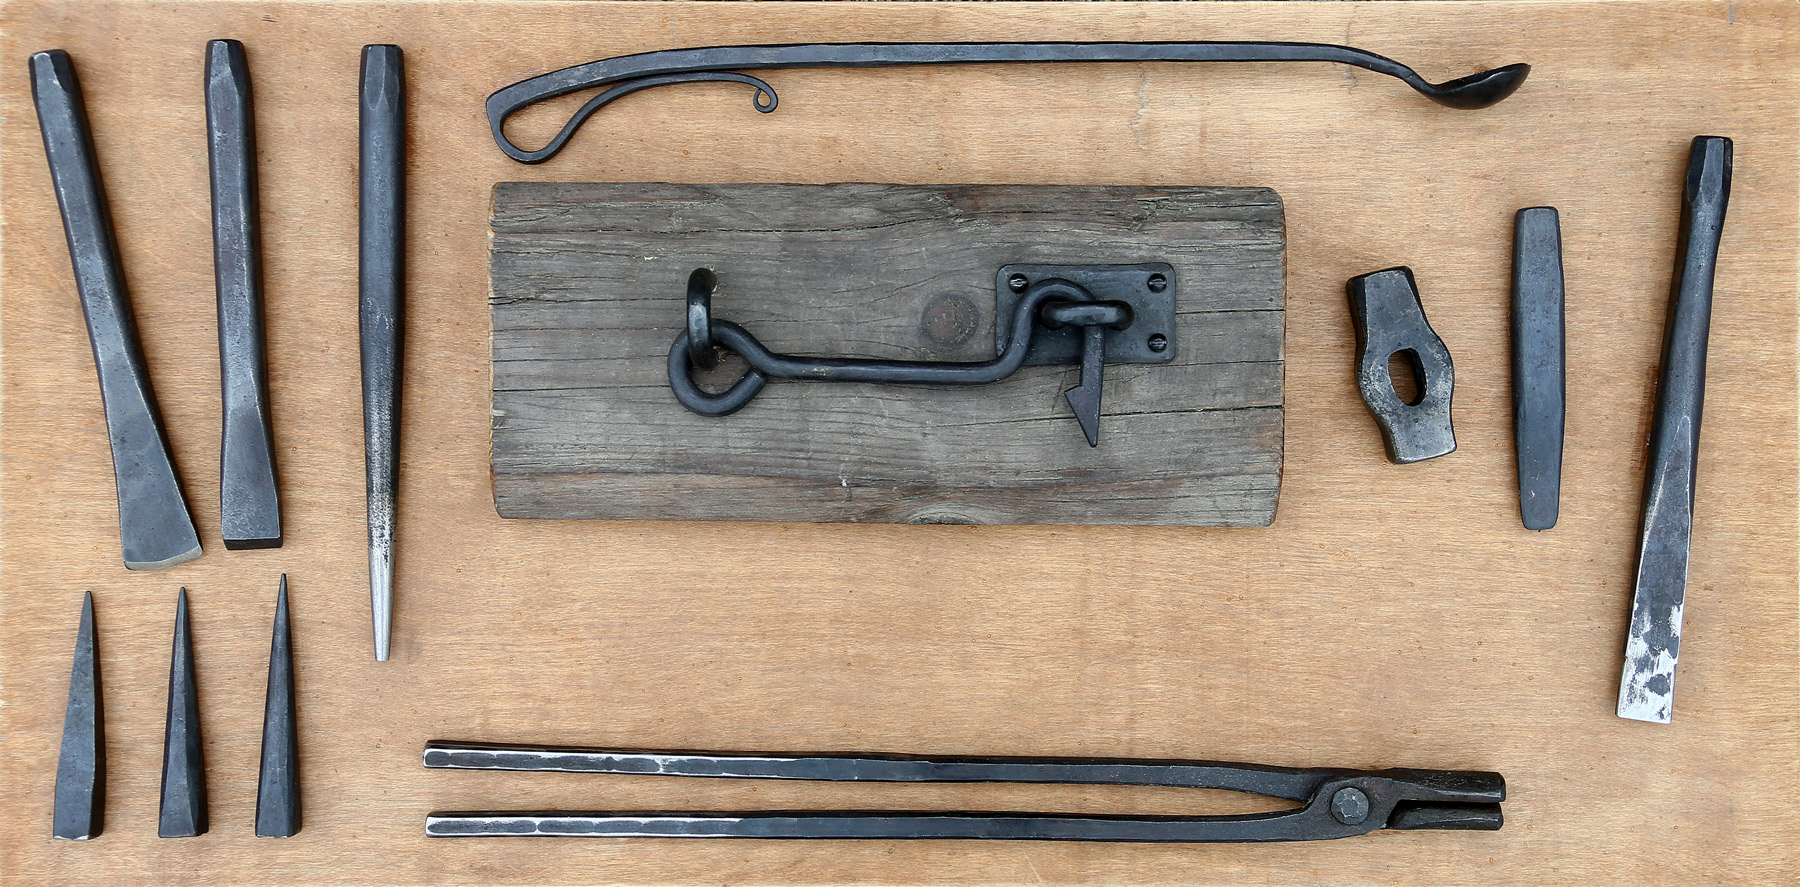
Students will have to prove to their instructor(s) that they understand and can perform the 21 skills listed for Level 1. Instructor(s) must sign off on the check list for each separate skill. Students will also present to their instructor(s) a completed project. The Farm Gate Hook (drawing provided) is a suggested project, but students have the freedom to make a different project as long as it incorporates all of the same skills. Alternate projects should be pre-approved by the education committee by submitting a drawing with dimensions.
Suggested books to use as reference are:
The Skills of a Blacksmith Vol.1, Mark Aspery
The New Edge of the Anvil, Jack Andrews
The Back Yard Blacksmith, Lorelei Sims
All of these titles are available for loan through the NRBA library.
1. Safety (see NRBA’s Safety Plan and Guide)
2. Understand the difference between a solid fuel forge and a gas forge
3. Understand the different parts of an anvil
4. Understand different hammer types and nomenclature of the hammers
5. Demonstrate different types of hammer blows
6. Understand the proper fit and use of tongs
7. Demonstrate different tapers (Square, Octagon, Round)
8. Make a hand held hot cut and know how to use it
9. Understand basic heat treatment for carbon steel
10. Make a handheld round punch and know how to use it
11. Make a 1/8” x 7/8” slot Punch
12. Make a hammer eye drift (1/2” by 7/8”)
13. Make a monkey tool using slot punch and hammer eye drift
14. Demonstrate upsetting
15. Make a hand held butcher tool
16. Know how to use a “Smoosh-a-Matic”, guillotine tool or spring swage
17. Make a round tenon
18. Demonstrate simple forge welding by making a flux spoon
19. Demonstrate controlled bending over the bick or horn
20. Make a pair of tongs of your choice (square bit, round bit, bolt, etc.)
21. Complete an approved project using all the above skills and tools.
Upon completion of the checklist and project, they are to be submitted to the education committee for approval. The student will be awarded the Level 1 Novice Certificate at the following NRBA conference or receive it by mail if they are not present at the conference. A nominal fee may be required by NRBA to cover administrative costs.
Name:__________________________________________________________________
Address:_________________________________________________________________
Phone and E-mail:_________________________________________________________
|
Date |
Instructor’s Signature |
Required Level 1 Skill |
|
|
|
1. Safety (see NRBA’s Safety Plan and Guide) |
|
|
|
2. Understand the difference between a solid fuel forge and a gas forge |
|
|
|
3. Understand the different parts of an anvil |
|
|
|
4. Understand different hammer types and nomenclature of the hammers |
|
|
|
5. Demonstrate different types of hammer blows |
|
|
|
6. Understand the proper fit and use of tongs |
|
|
|
7. Demonstrate different tapers (Square, Octagon, Round) |
|
|
|
8. Make a hand held hot cut and know how to use it |
|
|
|
9. Understand basic heat treatment for carbon steel |
|
|
|
10. Make a handheld round punch and know how to use it |
|
|
|
11. Make a 1/8” x 7/8” slot Punch |
|
|
|
12. Make a hammer eye drift (1/2” by 7/8”) |
|
|
|
13. Make a monkey tool using slot punch and hammer eye drift |
|
|
|
14. Demonstrate upsetting |
|
|
|
15. Make a hand held butcher tool |
|
|
|
16. Know how to use a “Smoosh-a-Matic”, guillotine tool or spring swage |
|
|
|
17. Make a round tenon |
|
|
|
18. Demonstrate simple forge welding by making a flux spoon |
|
|
|
19. Demonstrate controlled bending over the bick or horn |
|
|
|
20. Make a pair of tongs of your choice (square bit, round bit, bolt, etc.) |
|
|
|
21. Complete an approved project using all the above skills and tools. |


And, from Russell Evertz, 345 Carbonado Rd. Joilet, MT 59041 406 962-6030
I have gone through and
compared all of the NRBA Level requirements ABANA level requirements.
I merged the Abana documents
to make them easier for you to review including bookmarks.
I created an Excel spreadsheet
that compares the two. You will see yellow topics that are different between the
two groups. There is not too much difference between each, maybe two or
three items in level one.
Level 2 has several
differences but that is because level three tools have been absorbed into level
2b.
Abana decided that the nrba
level 2 Grill was too big of a project and was scaring people off so they picked
the smaller Grill.
They also broke the level
three tools out for two reasons. One reason is because people did not formally
understand that level three tools were expected as projects since it wasn't ever
in writing. The second reason is because the level 3 Grill seems like an ominous
task without small steps. Breaking the tools out separate is a road map
that has smaller steps.
This is my understanding
anyways after speaking with ABANA.
I am typing this via voice
recognition on drugs on the evening of hand surgery so hopefully I am
understandable!
My recommendation is that we
simply copy abana but still issue nrba education certifications for members that
are not abana members. I do however think we should maintain the grill that we
have now as an option for either program and maybe add some details to the
drawing to help instructors and members alike.
The biggest loss are standard
quarter turn tongs...not sure why those got cut. Don't think it is worth
bucking the big machine to change it now though!
I just
thought this would be helpful to get the discussion going. Normally the
education committee would sort this out but this change is big enough I thought
it would be good to talk with all education members.
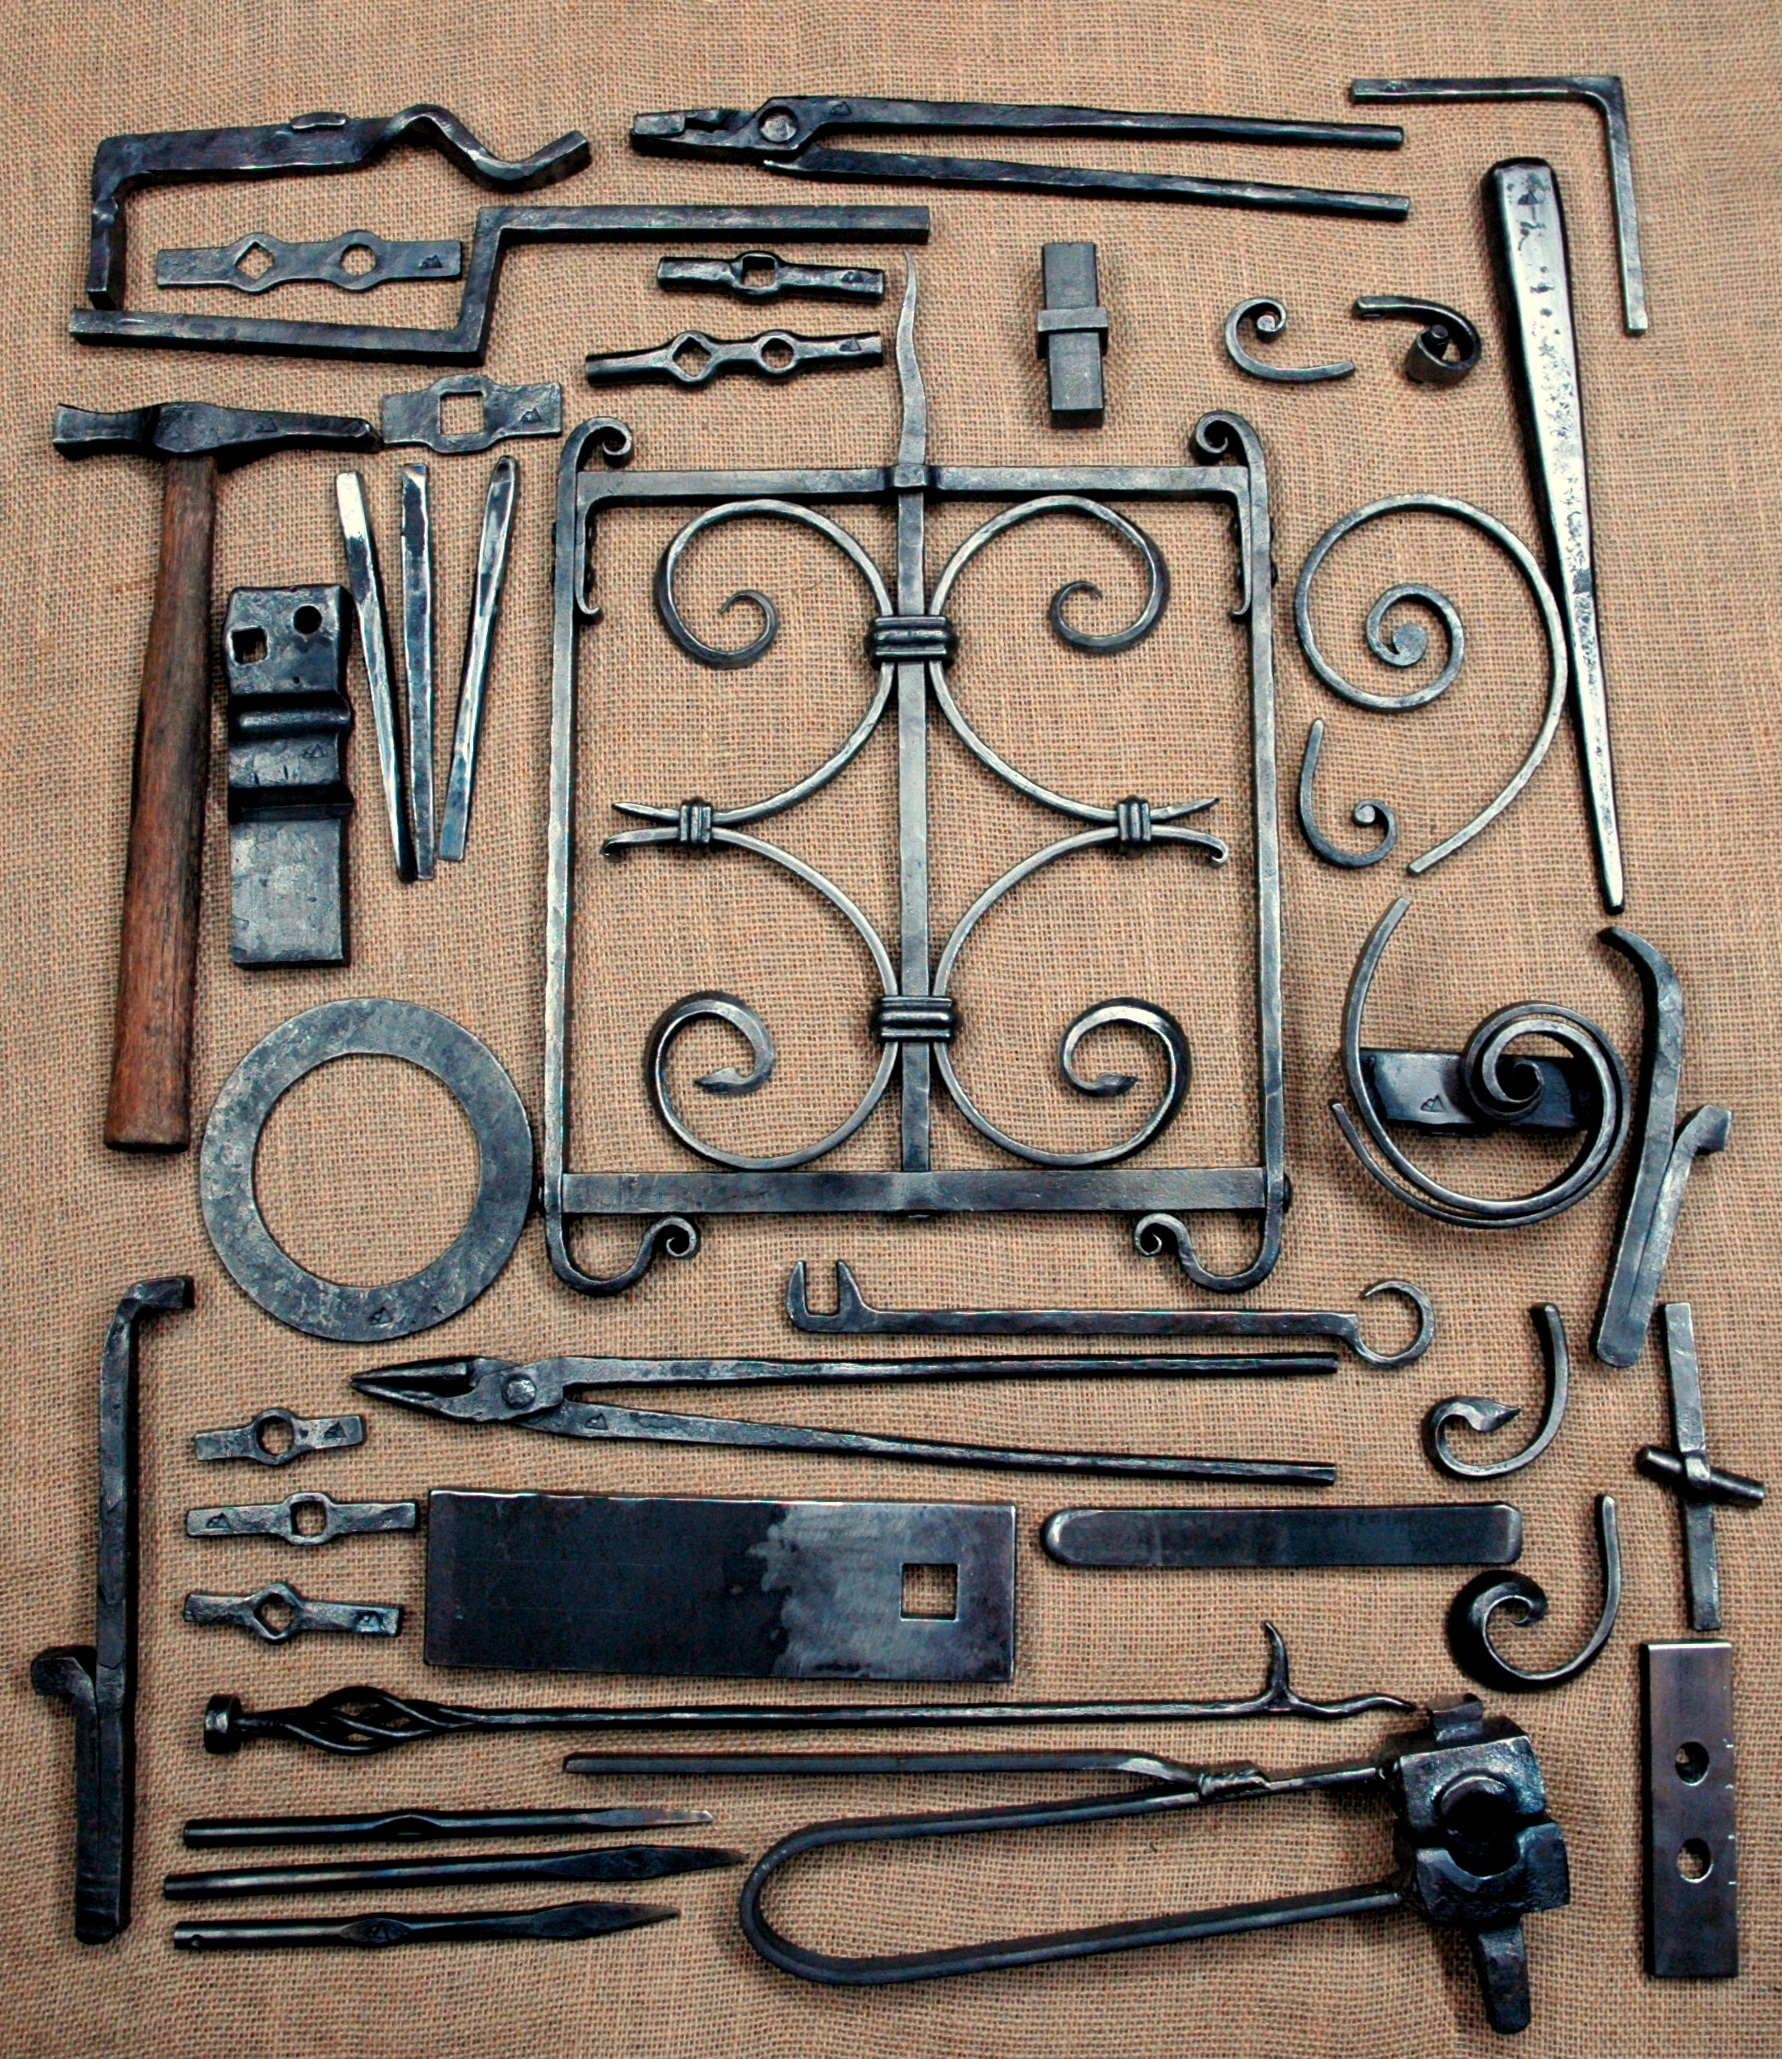
I have completed and been approved for all of the abana level two projects and thought they were all worth doing. If you have any questions on those, give a call or drop me an email. Here are some photos:


Northern Rockies Blacksmith Association. Kermit Indreland, president. 406 964-8579 lazykw@yahoo.com
NRBA Home Blacksmith News Board of Directors Past Conferences Future Conferences Education Program Library Touchmarks Member's Websites Member's Projects NRBA Articles Membership Application Links
Web editor: morris@hallowellco.com